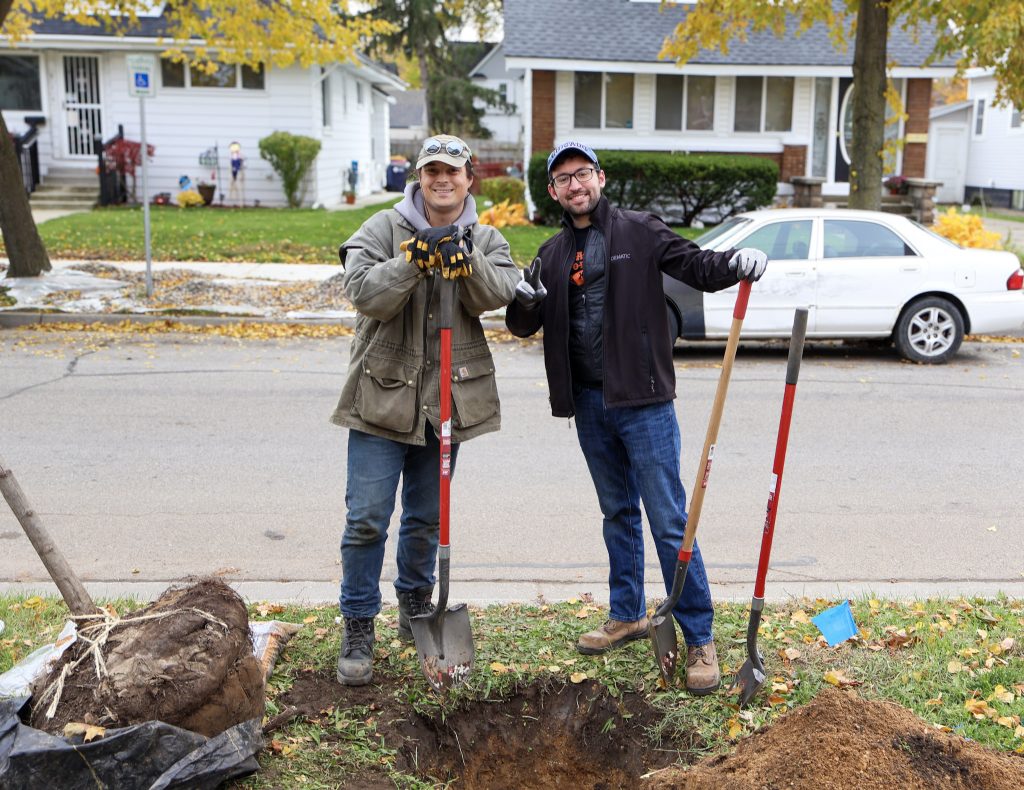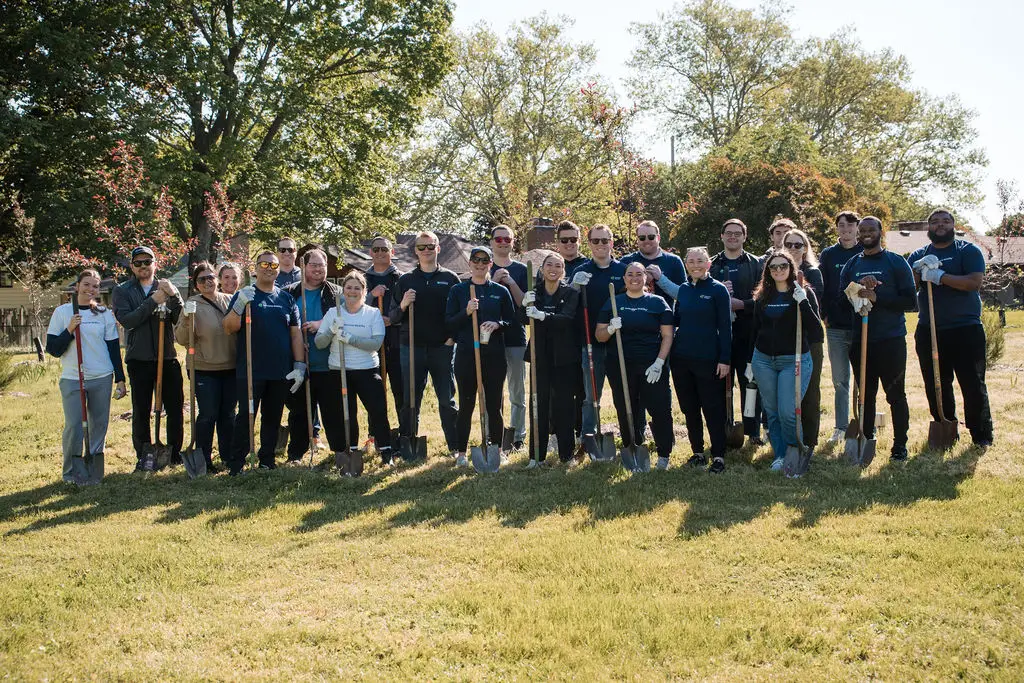
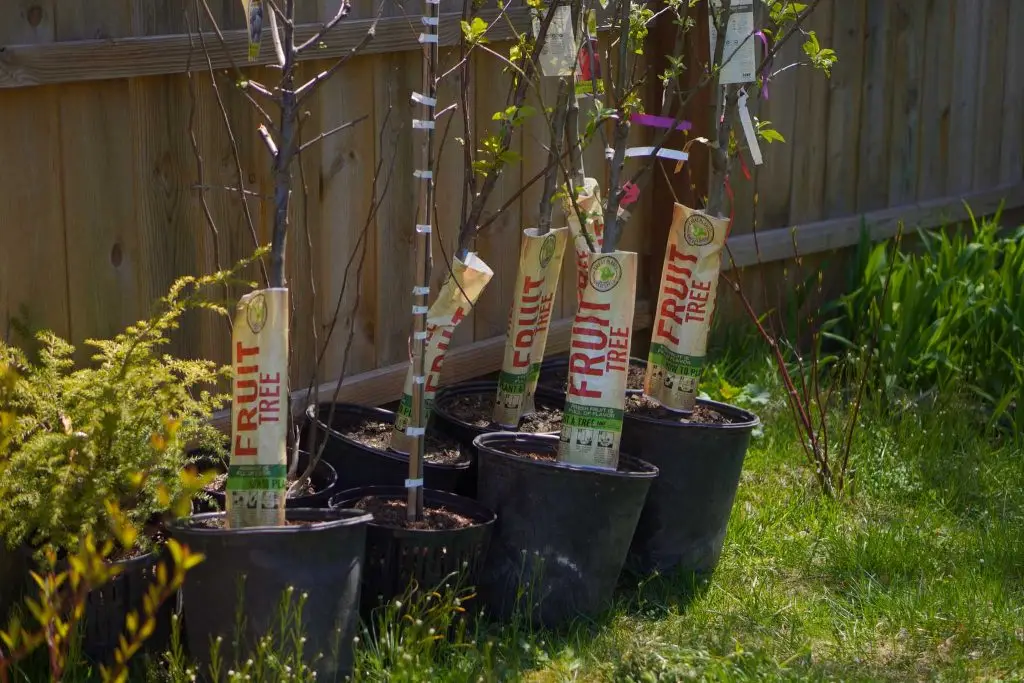
Container trees are easy to plant, with minimal transplant shock and quick establishment. They are perfect for homeowners and landscaping on a budget. We provide container trees for free at many events throughout the spring and fall to Grand Rapids residents who wish to plant a tree on their property. Follow the instructions below to confidently plant your very own container tree in your yard.
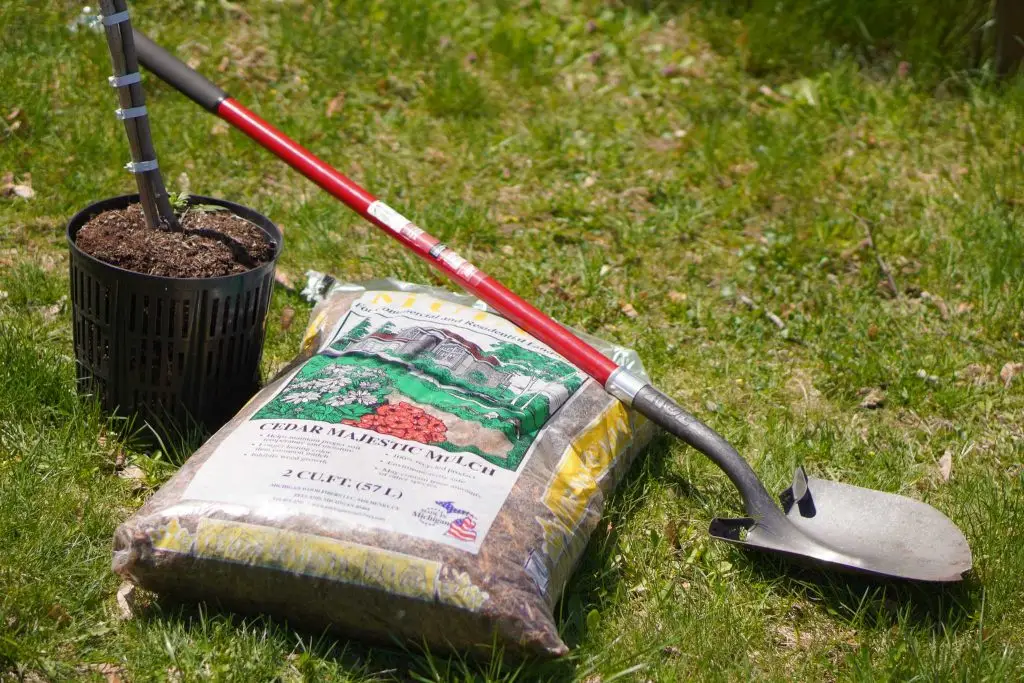
Here is what you’ll need to get started:
Grab a shovel, a bag of mulch, some gloves (optional), and your tree. For the final step, you will need access to 5-10 gallons of water.
You will NOT need fertilizer, potting soil, or other chemical products. These materials are usually unnecessary for your tree and, in the wrong amounts, could harm or even kill a young tree.
Alright, let’s dig in!
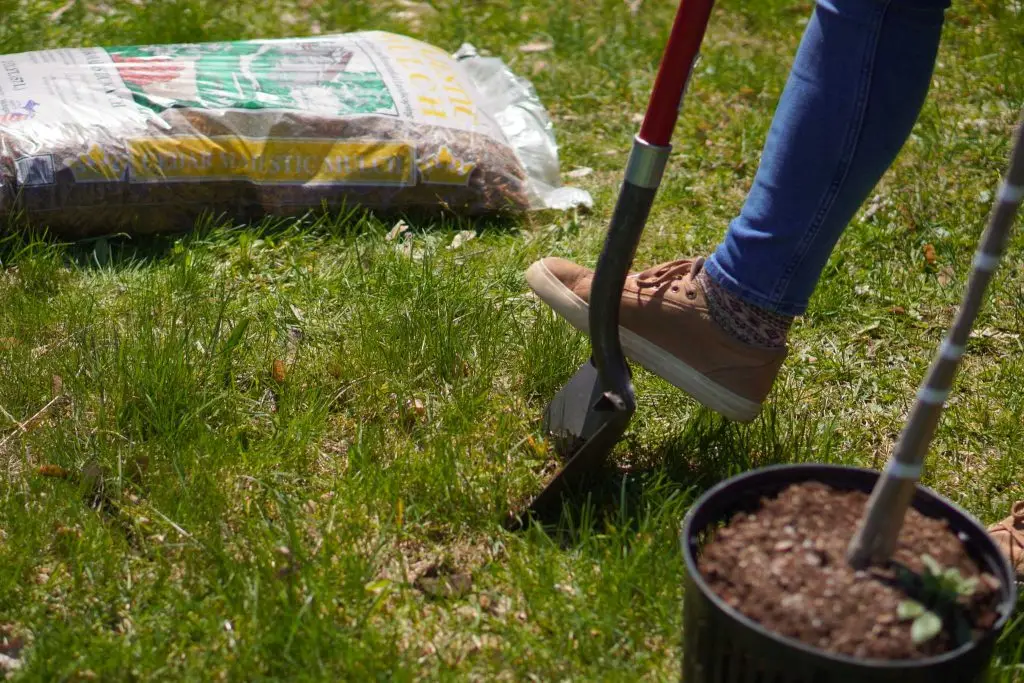
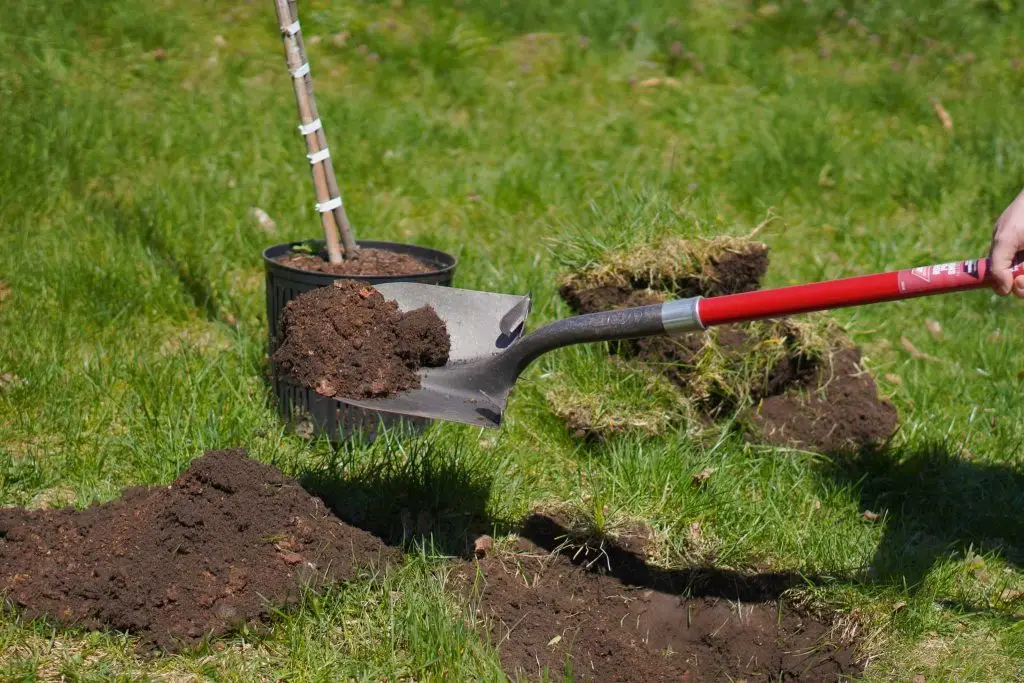
Step 1: Digging the hole
Measure the container (depth and width) before digging. The width should be 1.5 to 2 times wider than the container, and the depth should be roughly the same as the container’s depth.
Use your shovel to create a circle for the width of your hole, and begin removing the sod/grass into a pile on the side (this will be set aside until step 4). While removing dirt, create a second pile for dirt only to prepare for backfilling. While digging, create a cylinder-shaped hole with flat sides and a flat bottom, not a ‘cone’ shape.
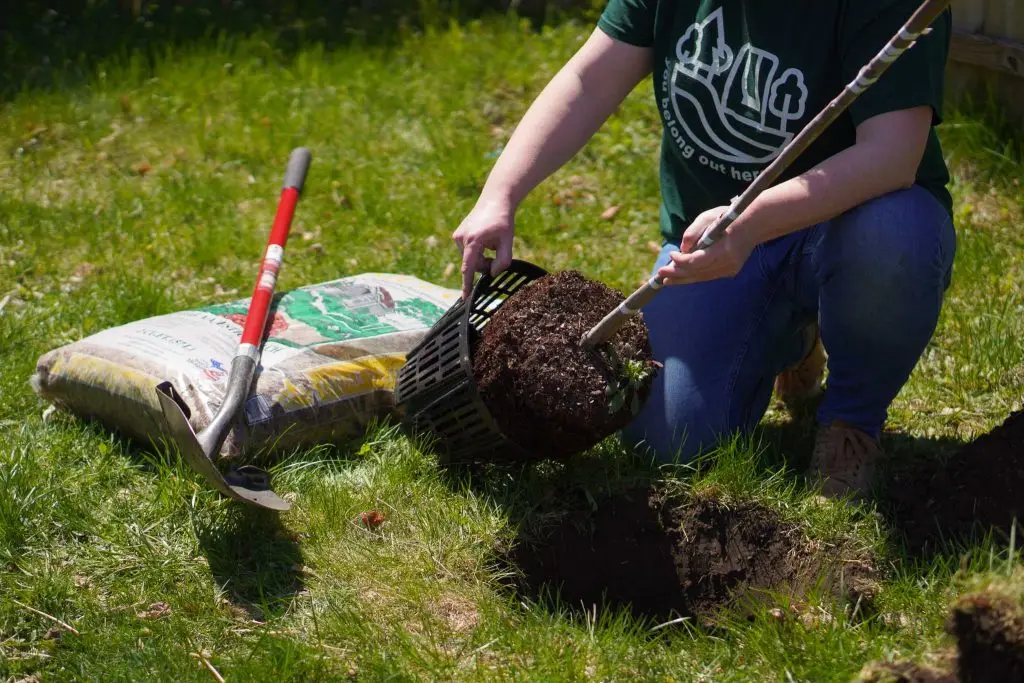
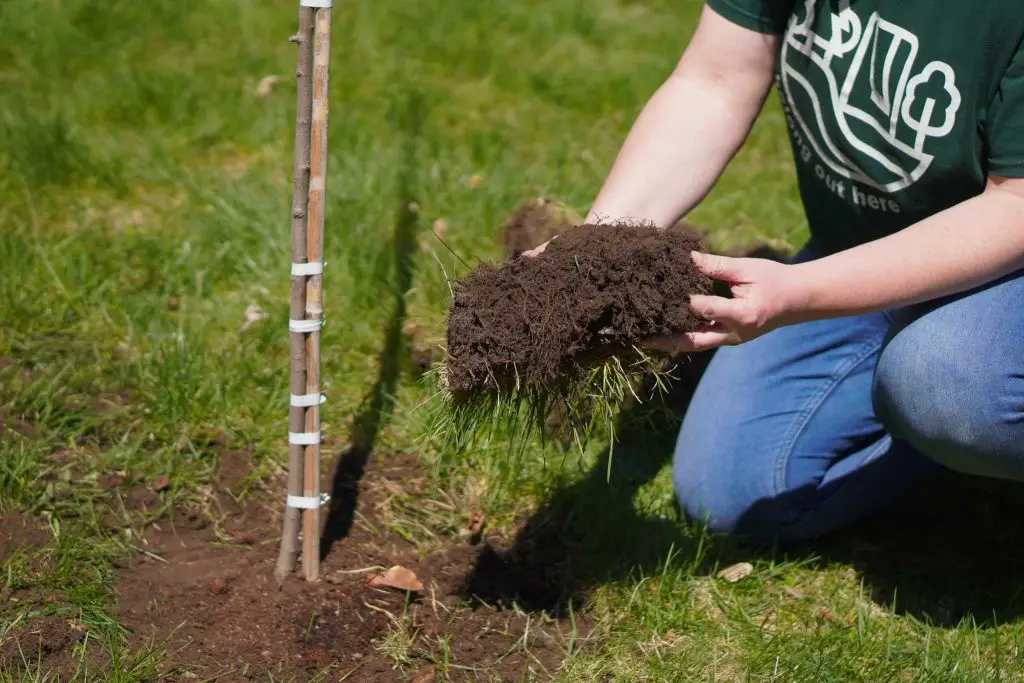
Step 2: Placing the tree and checking the depth
Carefully remove your tree from the container, keeping the soil around the roots intact. If you’re having trouble removing your tree from the container, tapping on the outside may help loosen the edges. Pulling too hard while removing the tree from the container may result in root separation from the tree.
Place your tree in the center of the hole. To avoid planting too deep, use your shovel to ensure the root flare (where the first main root connects with the trunk) is slightly above ground level. If it is not, you may need to dig a little deeper or pack some dirt underneath the tree.
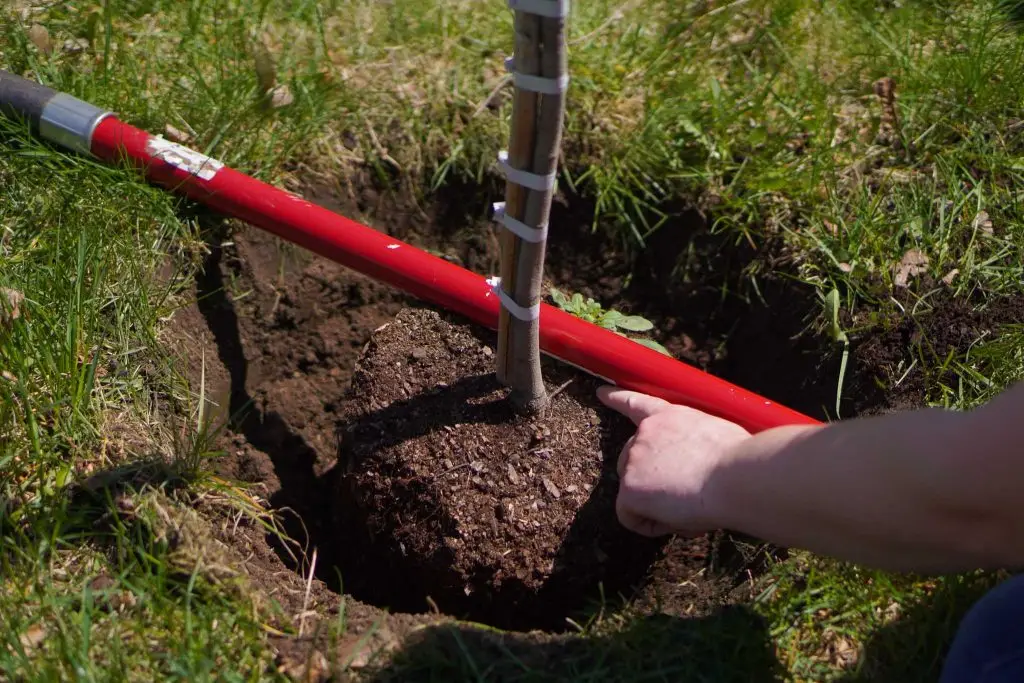
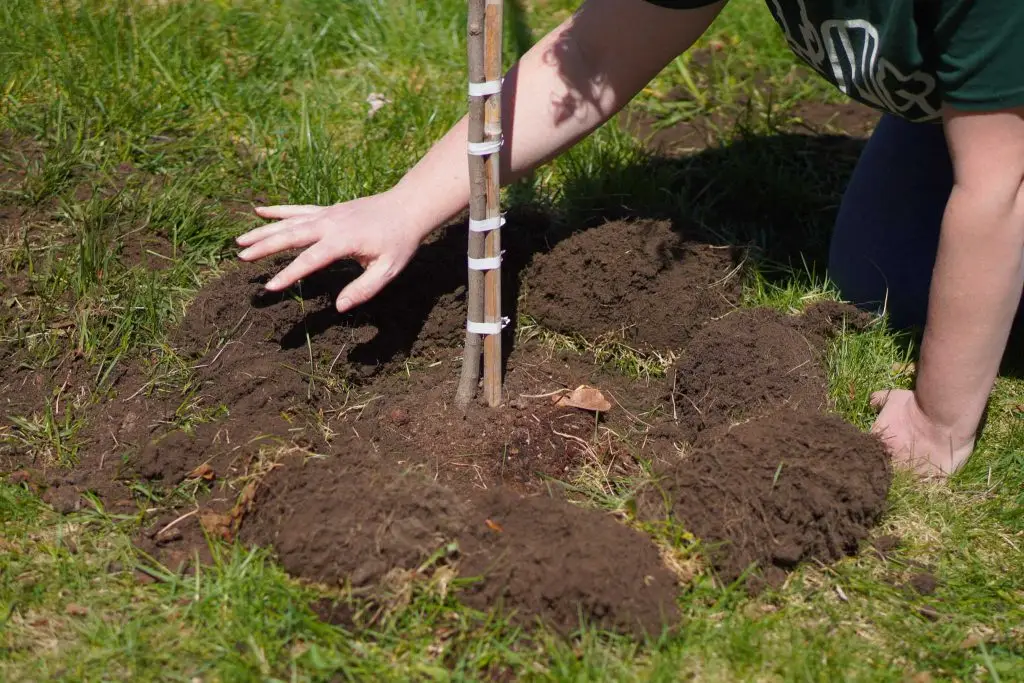
Step 3: Backfilling the hole
Ensure your tree stands as straight and upright as possible by looking at it from all sides. Begin backfilling the dirt into the hole surrounding the tree’s soil in layers of 3-4 inches at a time. After each layer of dirt is added, firmly step with your body weight on the dirt to pack it in and remove air gaps. Repeat this step until the dirt is level with the ground surrounding it and just below the root flare.
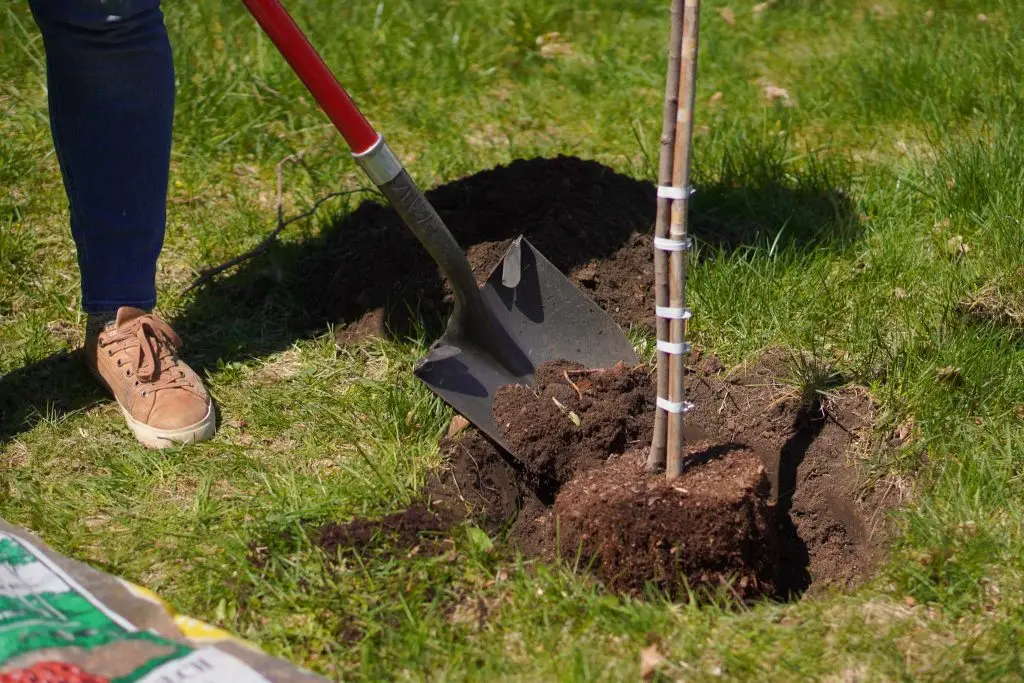
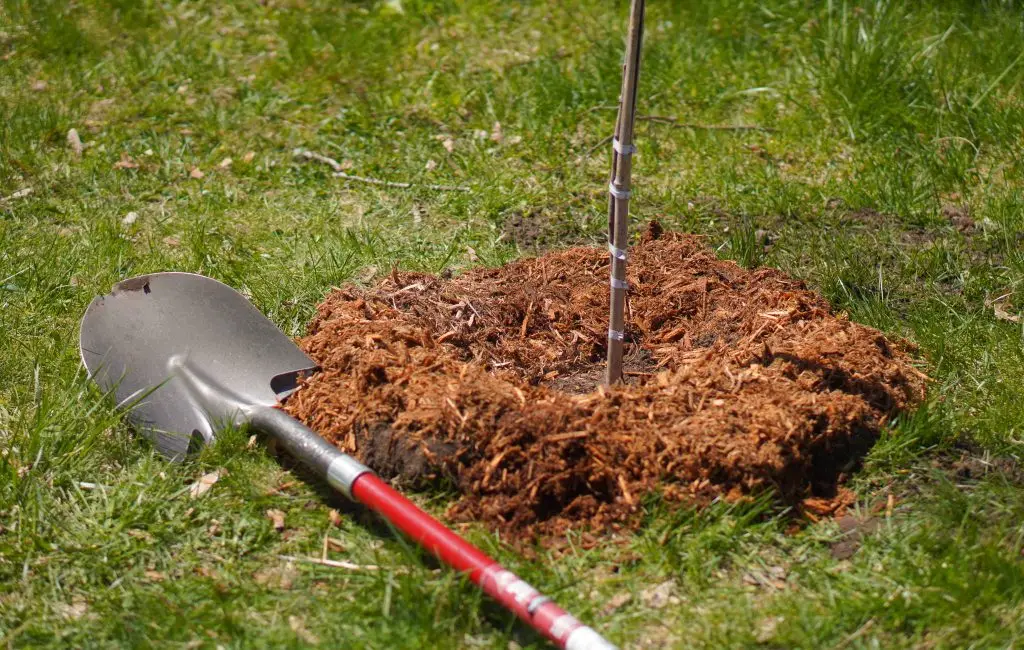
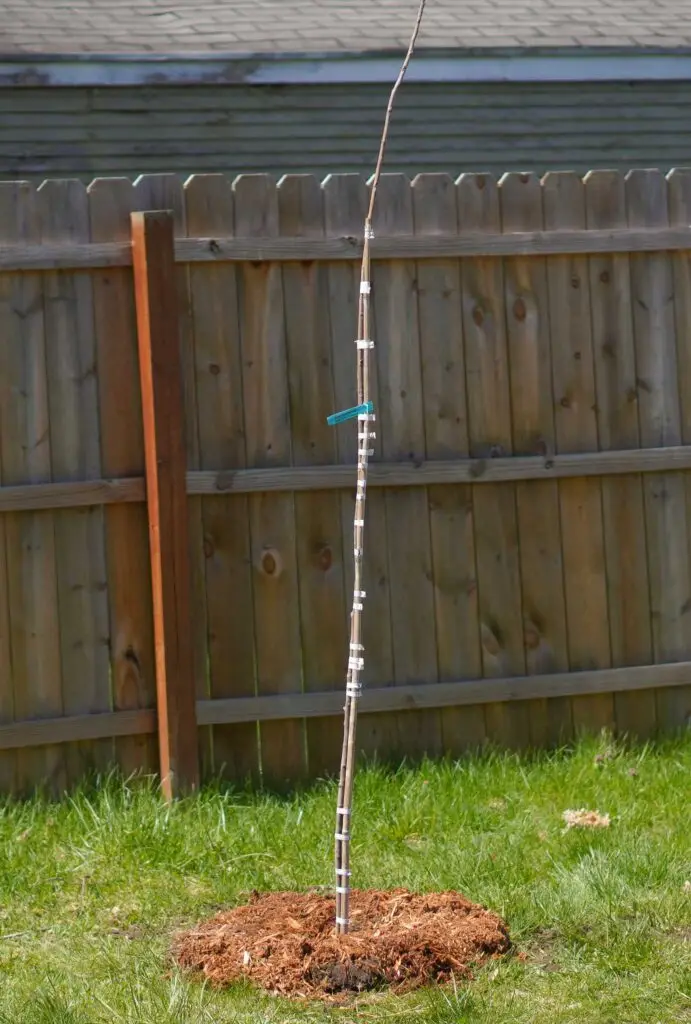
Step 4: Building a berm with sod/grass
Use the upside-down sod/grass to create a circular berm around the tree. Create your berm ~10-12 inches away from your trunk. This step will protect your newly planted tree and help it receive more water.
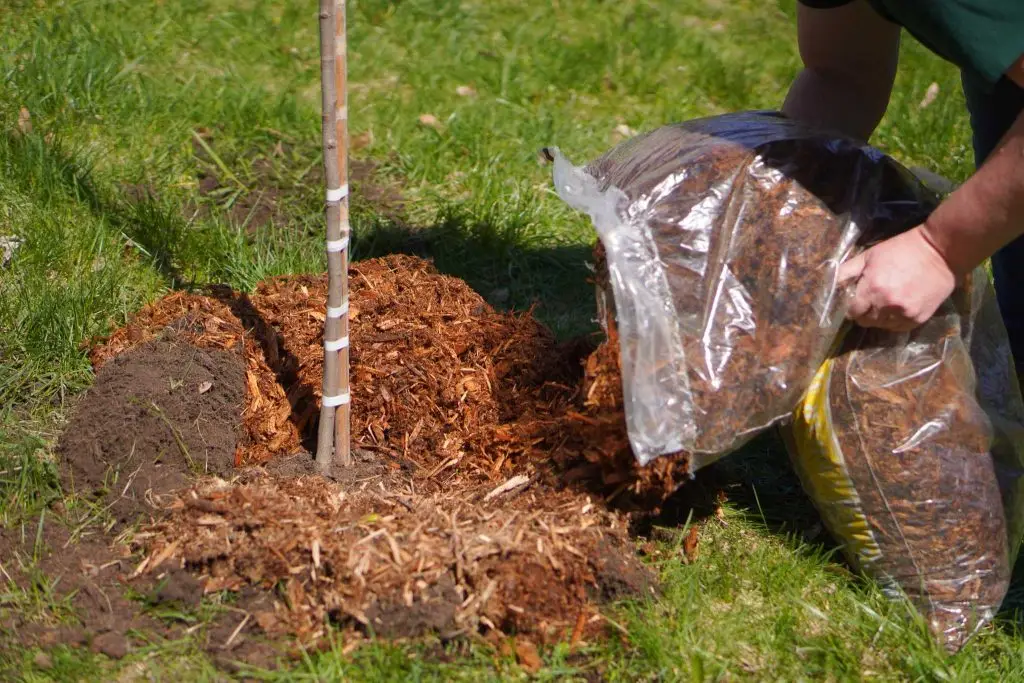
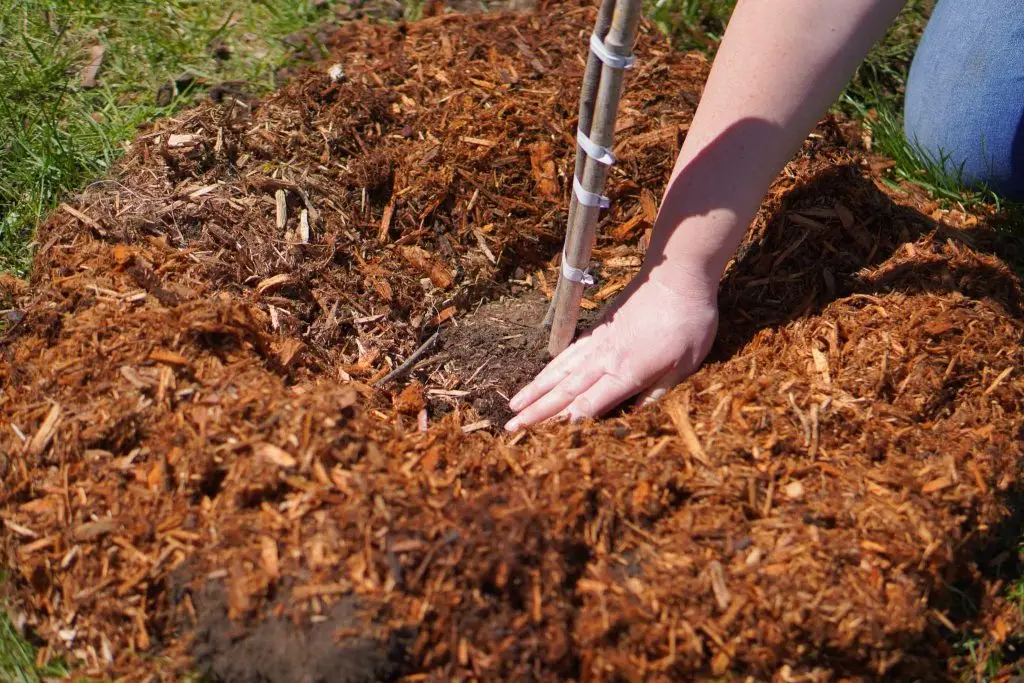
Step 5: Adding mulch to the berm & watering
Lay a layer of mulch over the berm (around 2-3 inches), keeping one handwidth clear around the trunk.
Not pictured: Slowly pour 5-10 gallons of water into the berm as soon as you’re done planting. Plan to do this once weekly while the average temperature is 65 degrees or higher. In Michigan, this is typically from around May to October.
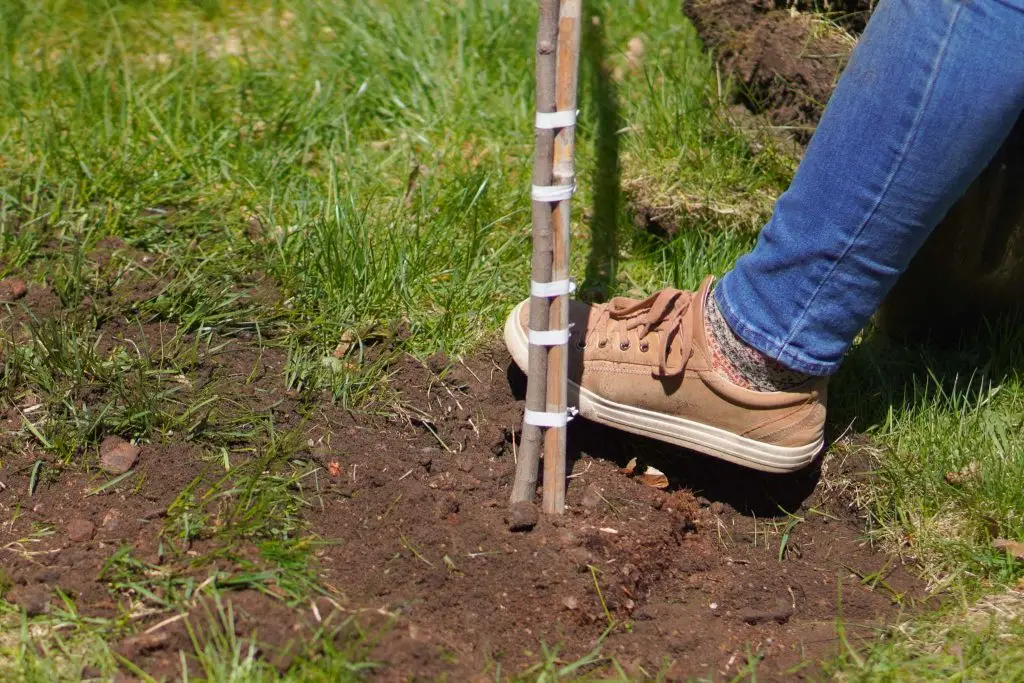
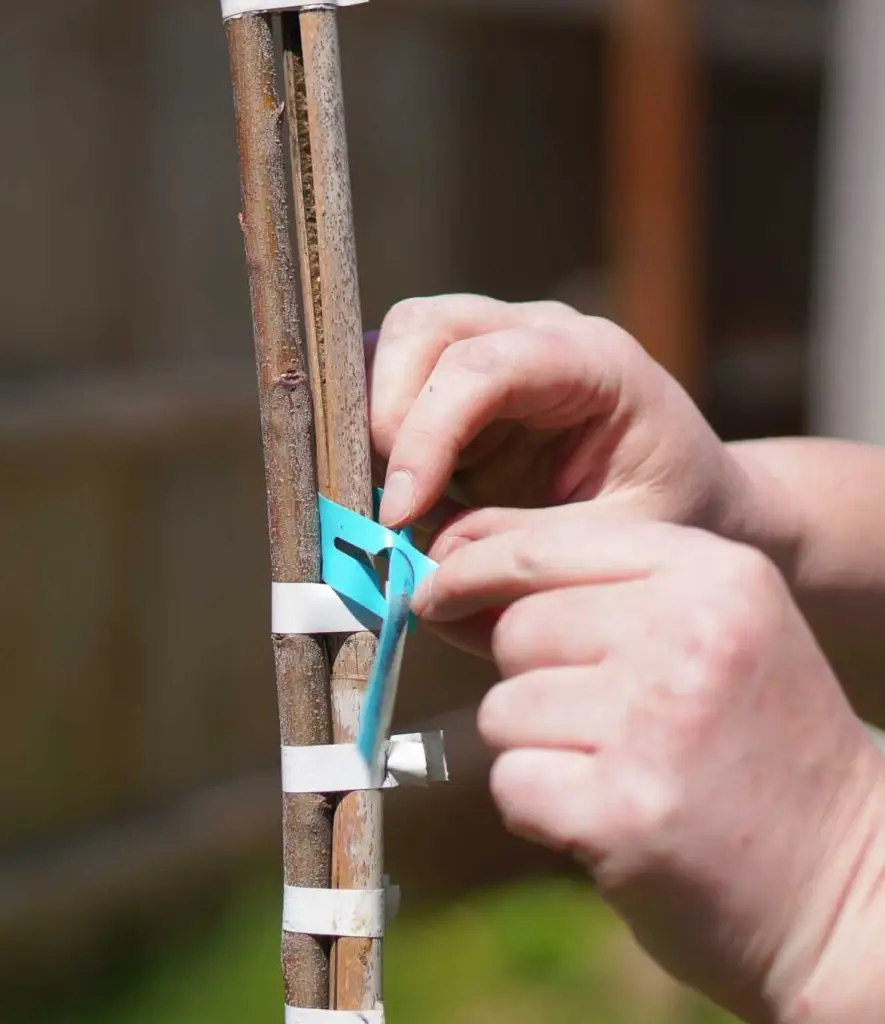
Step 6: Removing tree tags
This step is not only very satisfying but also very important. Removing the tags from your tree prevents damage as the tree grows.
Way to go, friend! You’ve just planted a tree!
Share this accomplishment with us by tagging us on Instagram or Facebook, and let us know how it went.